Blog
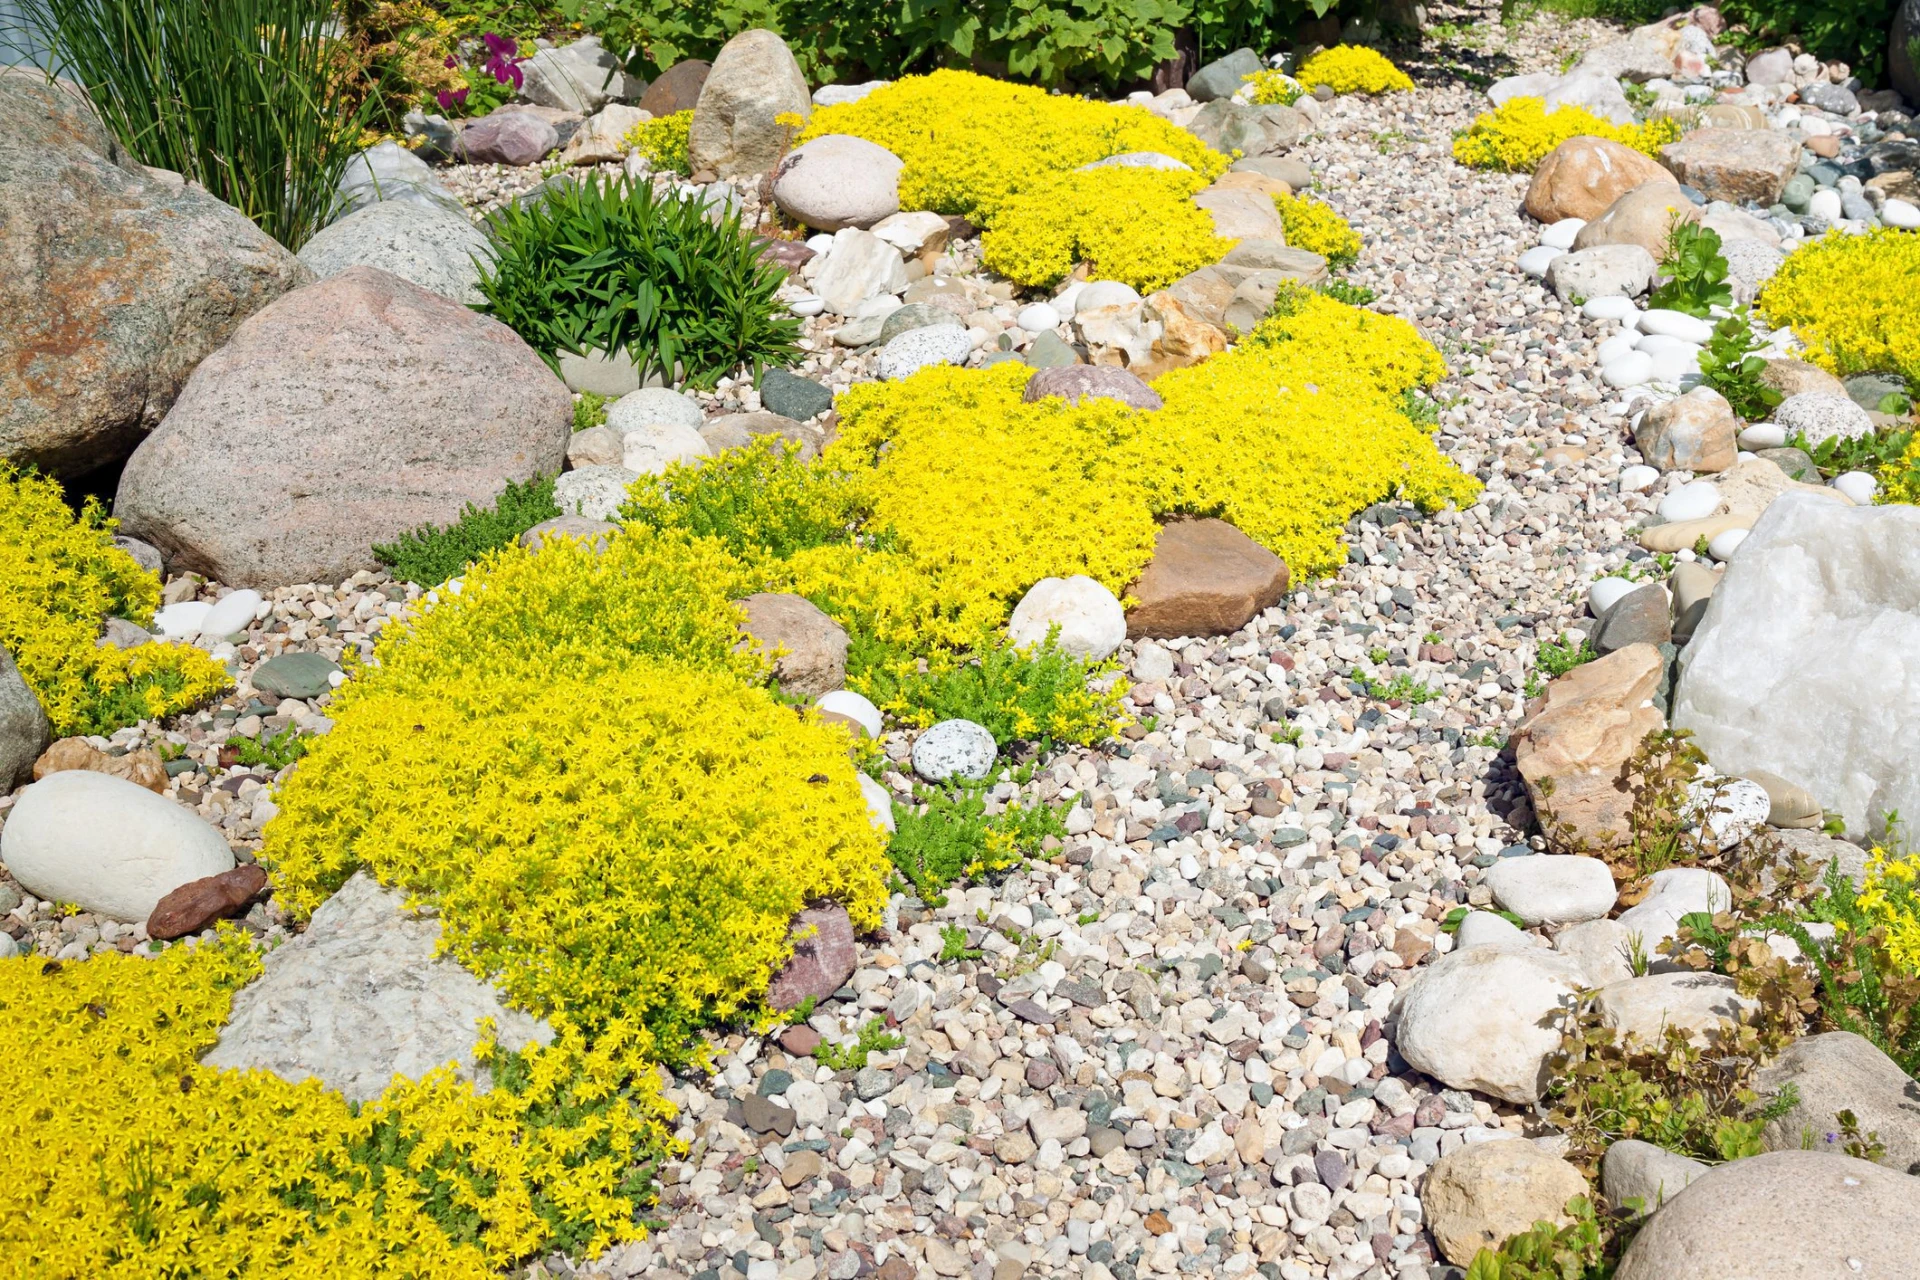
Guide On How To Lay Landscape Rock
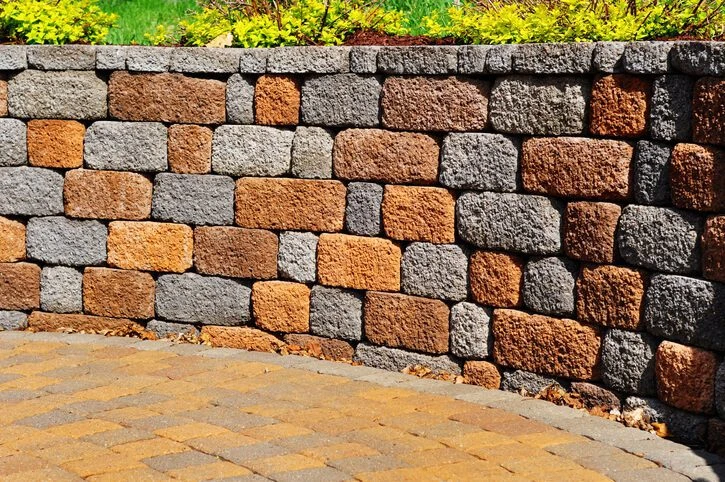
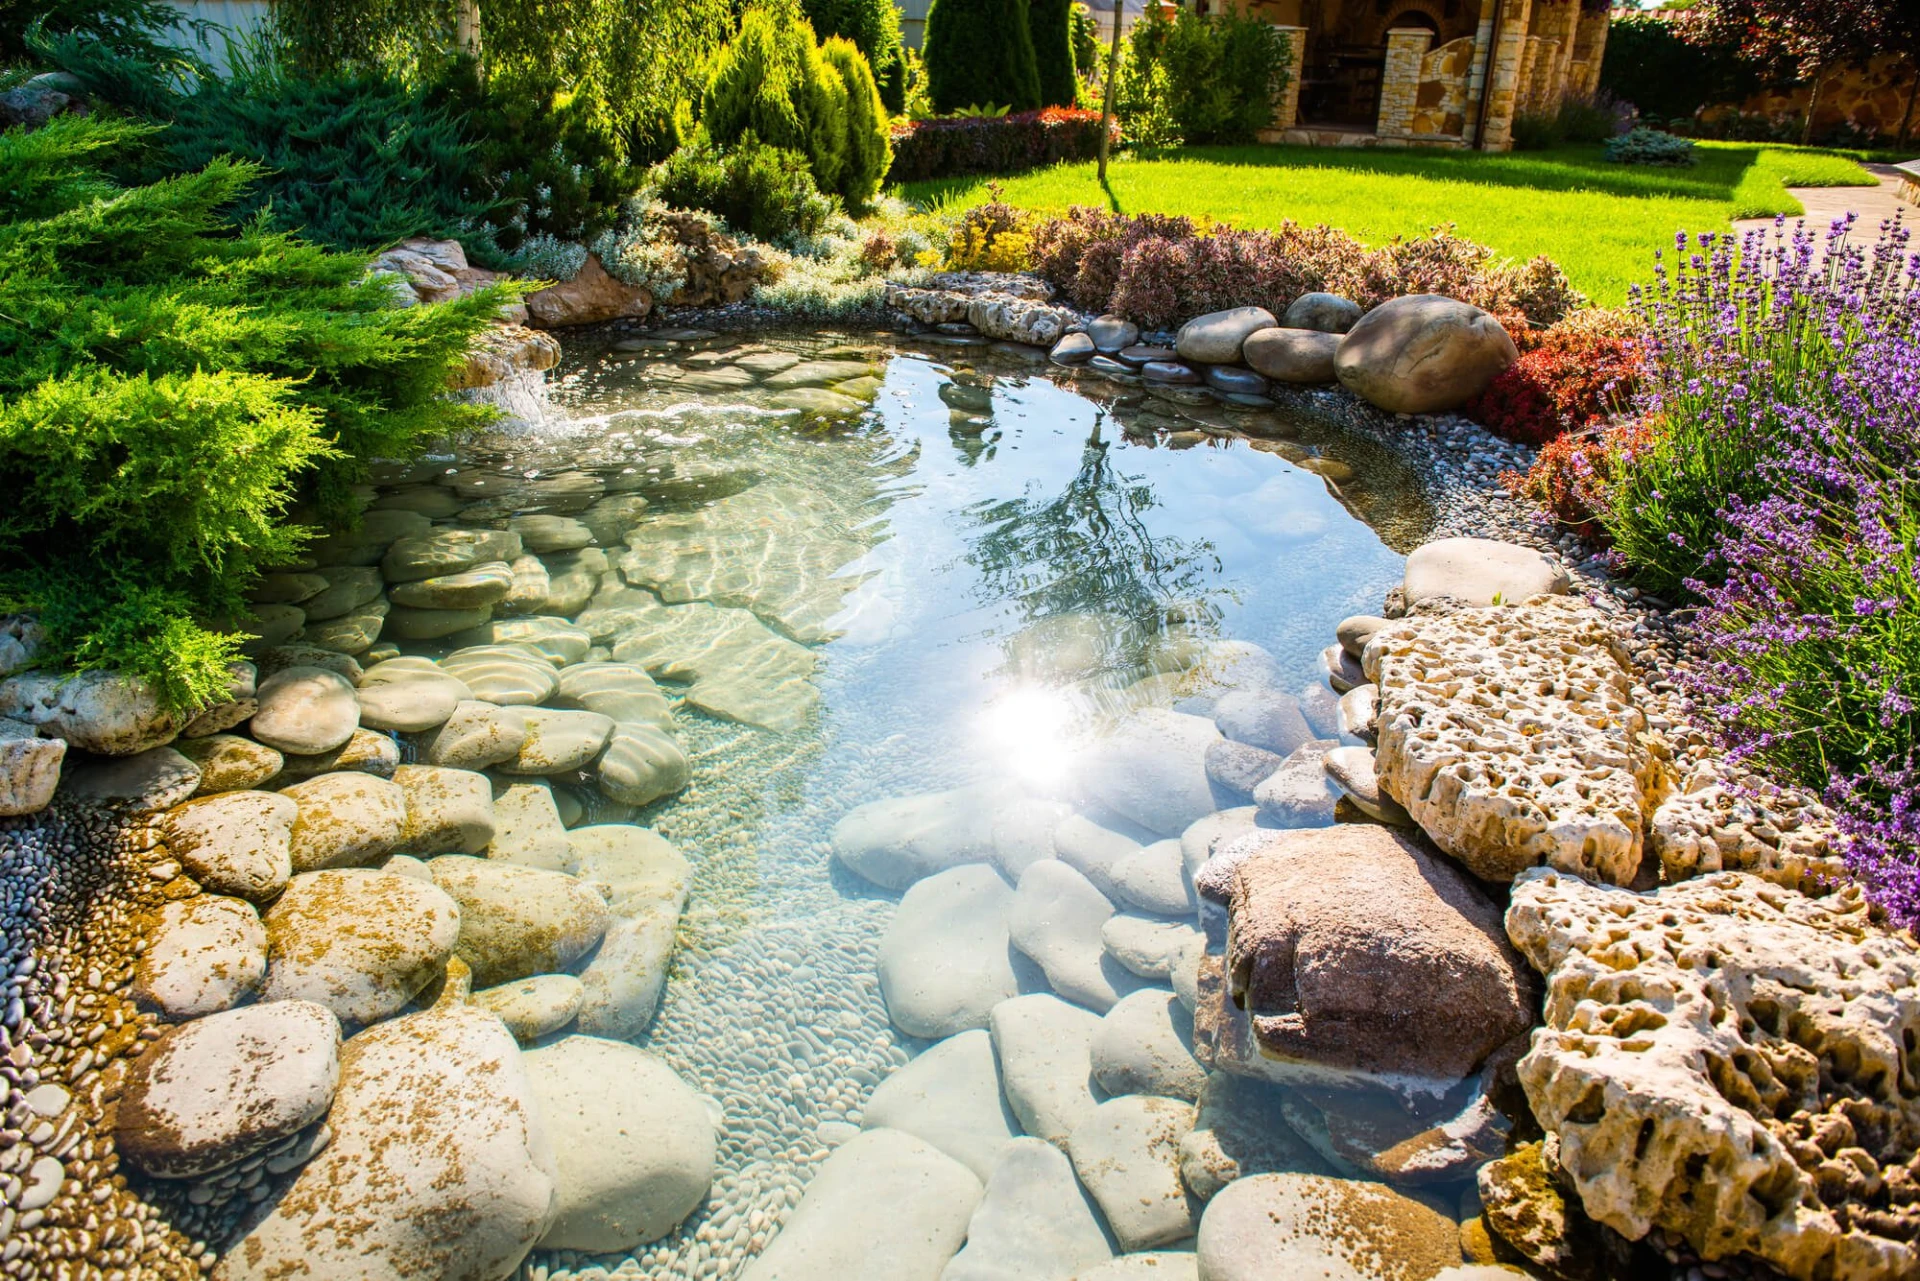
A Guide To Properly Laying Landscaping Rocks Landscaping rocks make an excellent addition to any outdoor space. Whether you’re using rock landscaping as a decorative or practical feature, this article will help you understand how to lay the rock in order to create the best decorative rockery. How To Lay Landscape Rock Here’s your detailed guide for how to prepare for and lay landscape rock. If you have any rockery questions or would like to schedule our team of landscape contractor professionals to come and lay your landscape rock, give us a call. No matter how big or