Resources & Guides
Hardscaping & Retaining Wall Blog
Expert guides, project inspiration, and practical advice from New Life Rockeries — serving the greater Seattle area since 1975.
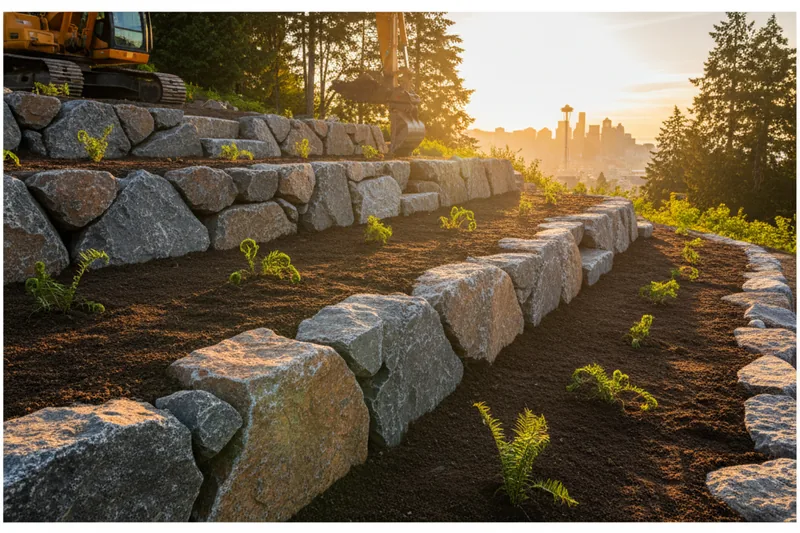
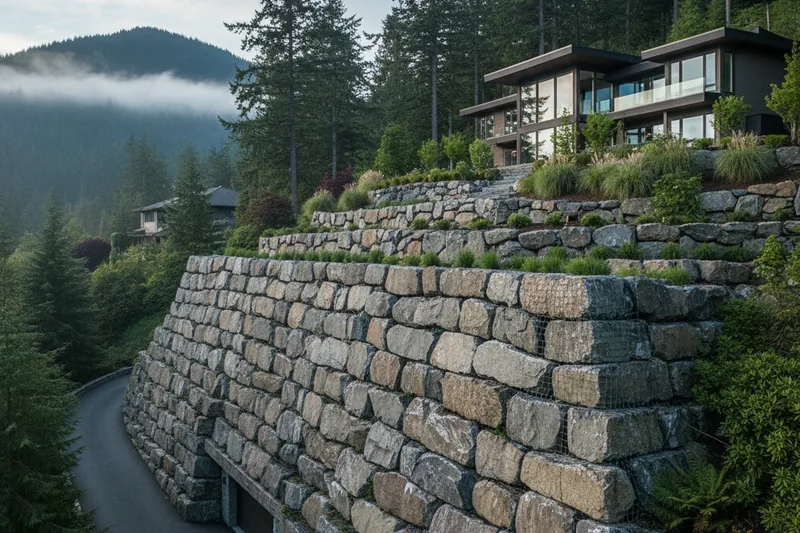
Natural Stone vs. Engineered Block: Which Retaining Wall Material Is Right for Seattle's Terrain?
Stone retaining walls offer something engineered block cannot: a wall that looks like it grew there. For Seattle homeowners managing slopes, here's how to choose between basalt columns, granite boulders, sandstone, and c...
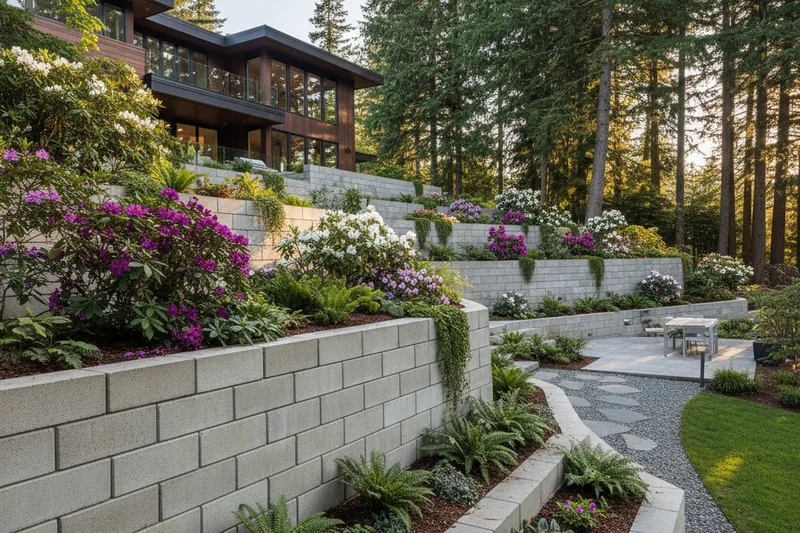
Block Retaining Walls in Seattle, WA: Cost, Durability & Design Options
Seattle’s steep slopes, wet winters, and shifting soils make retaining walls a practical necessity for thousands of homeowners across the city. Among all the av...
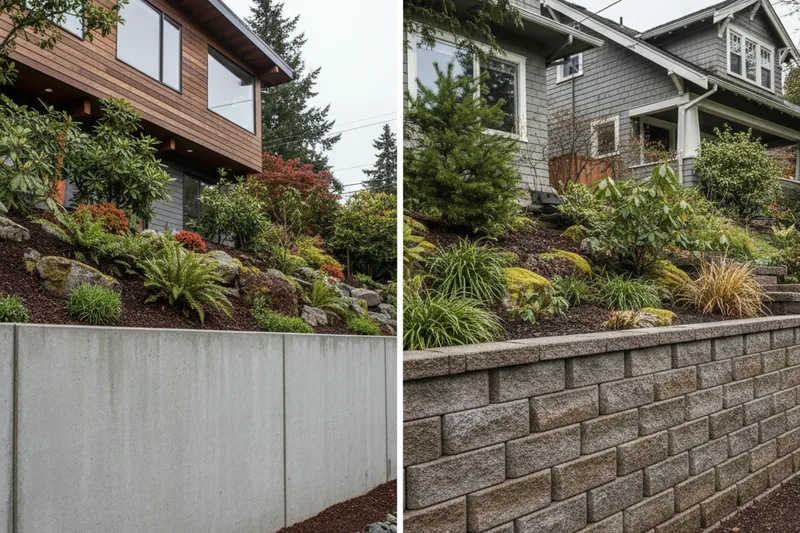
Seattle Retaining Wall Construction: Concrete vs Block Retaining Walls
If you own property in the Pacific Northwest, you already know that Seattle’s hilly terrain and heavy rainfall can put serious pressure on your landscape. Wheth...

7 Warning Signs Your Retaining Wall Is Failing (And What to Do About Each One)
Seattle's heavy seasonal rainfall and glacial till soil create specific failure conditions for retaining walls. Here are the seven warning signs that your wall ...
Seattle's Soil, Rain & Slopes: What Every Homeowner Needs to Know Before Building a Retaining Wall
If you own a home on a Seattle hillside, the Pacific Northwest's geology is working against you year-round. Heavy seasonal rainfall, dense glacial till, and ste...
Engineered for Gravity: When to Use Anchored vs. Gravity Retaining Walls
Gravity retaining walls use dead weight to resist soil pressure — best for walls under 10 ft with good soil and a wide footprint. Anchored retaining walls use t...
7 Signs Your Retaining Wall is Failing (and How to Save It)
Is your retaining wall trying to tell you something? Learn the warning signs before a small problem becomes a costly collapse. Retaining walls are the unsung he...

Commercial Hardscaping: Durability and Compliance for Business Owners
For a business owner, a retaining wall or a parking lot expansion isn't just a landscaping choice; it is a structural asset that directly impacts liability, pro...

Permitting 101: Do You Need a Permit for Your Retaining Wall in WA?
In Washington State, the question of whether you need a permit for a retaining wall in Seattle is determined by one primary factor: safety. A retaining wall is ...
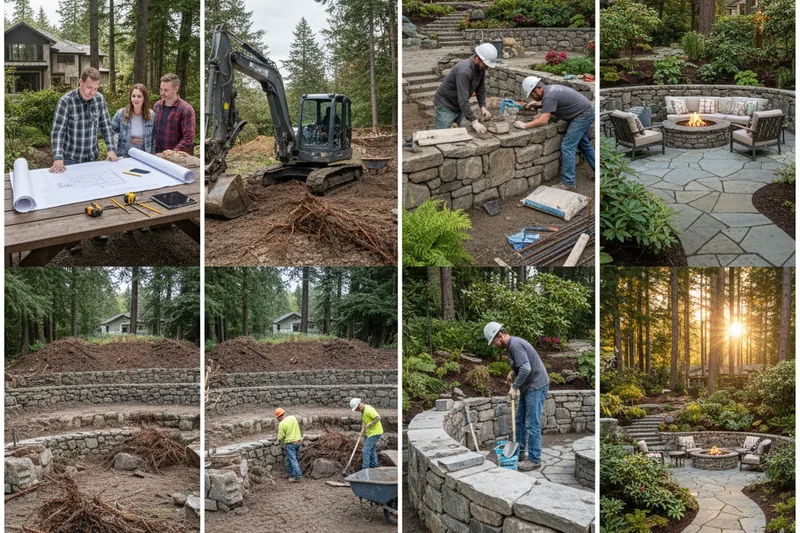
Why Does a Hardscape Project Take So Long? The 4 Phases Most Homeowners Don't Know About
Most homeowners expect a hardscape project to take a week. The reality is 4 to 12 weeks — and most of that time happens before a single stone is laid. Here's wh...
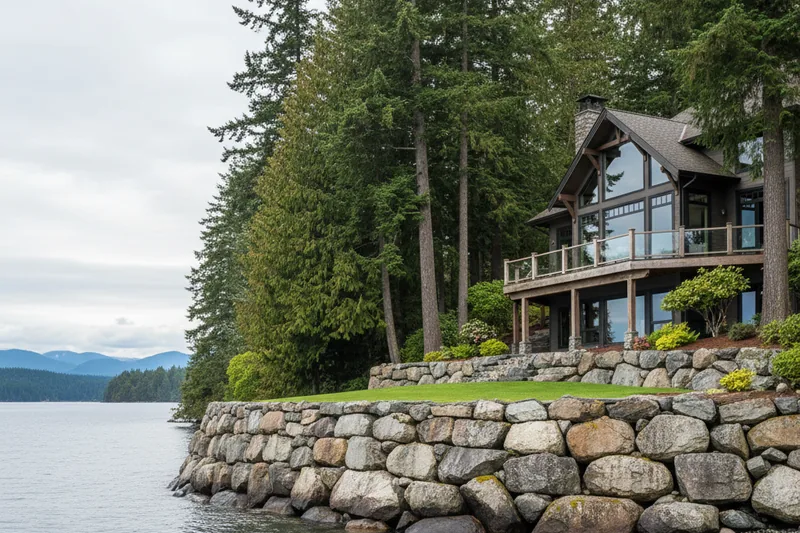
Shoreline Solutions: A Guide to Lake Retaining Wall Repair & Maintenance
A lake retaining wall protects usable waterfront property from erosion, wave action, and saturated soils. This guide explains how to spot shoreline wall problem...
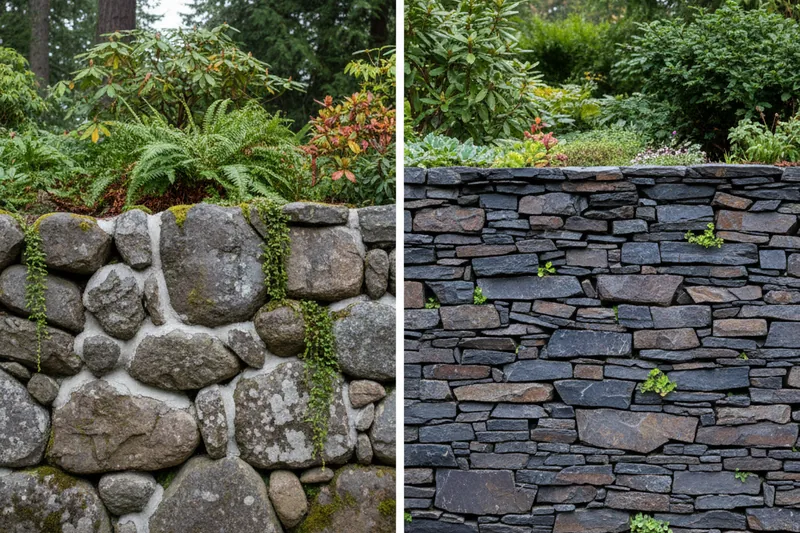
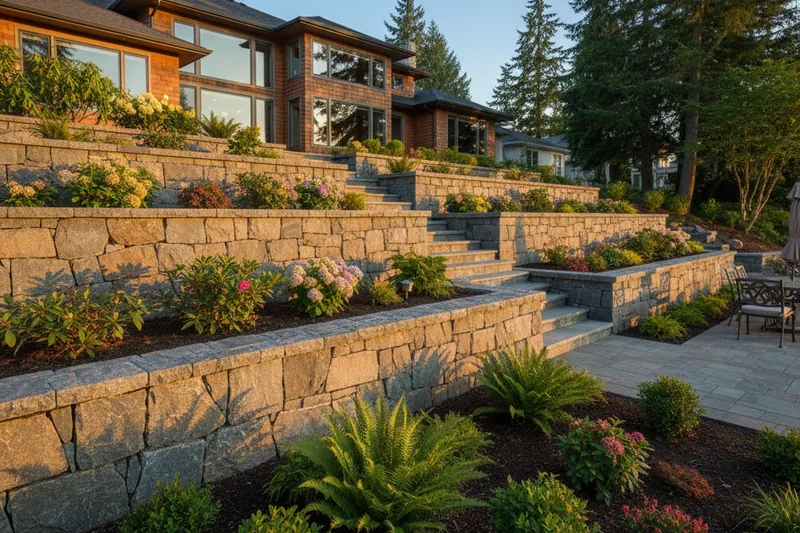
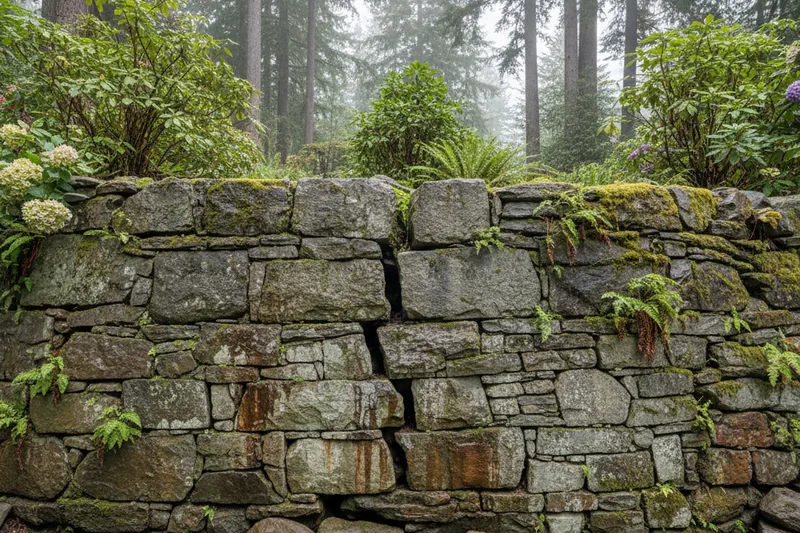
Mortared vs. Dry Stack Stone Walls: Which is Best for Your Slope?
When you are faced with a sloping yard, a retaining wall in Seattle is rarely a luxury; it is a necessity for erosion control and usable space. The most critica...
Ready to Transform Your Yard?
Get a free, no-obligation estimate from Seattle's most trusted retaining wall and hardscaping contractor since 1975.