Drystack Retaining Wall Tutorial
Many homeowners are finding that they have extra time on their hands this spring and want to use it to . If this is you, this article will give you a step by step tutorial for how to build a drystack retaining wall for your home.
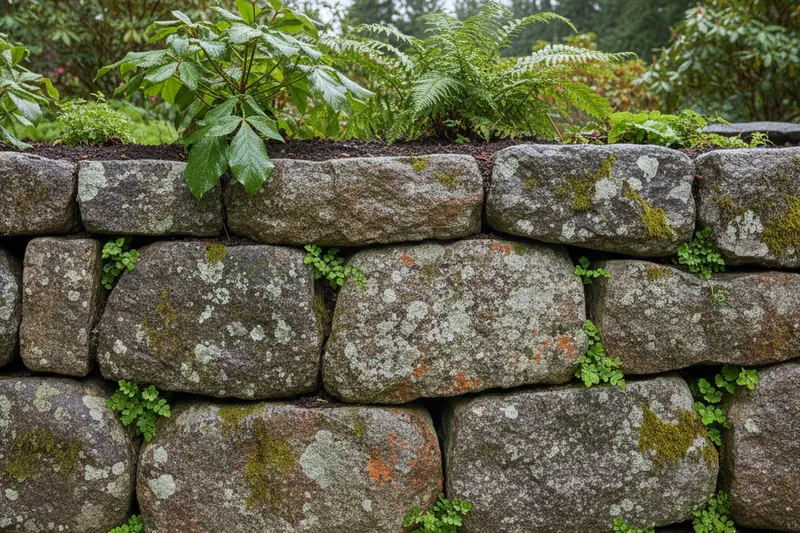
What is a Drystack Retaining Wall?
Drystack retaining walls differ from others in that they are built without mortar to fill in the gaps. Stones are stacked on top of each other, creating a natural that functions optimally for natural draining.
How to DIY a Drystack Stone Retaining Wall?
Here is an easy, step by step tutorial for making a DIY drystack stone retaining wall.
1. Gather Essential Tools
Some of the most useful tools for building a DIY drystack retaining wall include:
- Level
- String or twine
- Wooden stakes (for markers)
- Shovel
- Wheelbarrow
- Gloves
2. Measure & Calculate
Measure the length and height of your drystack retaining wall so that you are able to calculate how much stone you will need to complete the project. Measuring and calculating are extremely important for ensuring that you get the correct amount of stone for your DIY drystack retaining wall.
3. Pick Your Material for Your Drystack Stone Retaining Wall?
Visit a rock quarry or stone yard and select the perfect stone for your drystack retaining wall. Choosing the best stone for your project largely depends on preference. Just make sure that you get enough flat stone to cap the top of your drystack retaining wall.
4. Make Your Outline
Outline the area where you will build your drystone retaining wall. Using wooden stakes and string, build yourself a wall outline.
5. Dig Your Trench & Fill it With Gravel
Take your shovel and dig a trench where you will be building your DIY drystack retaining wall. Your trench should be anywhere from six inches to a foot deep and a couple of inches wider than the base of your drystack retaining wall.
Once you’ve dug your trench, fill it with gravel or dirt.
6. Lay the Foundation for Your Drystack Retaining Wall
Carefully lay the first layer of stone making sure that they are level. This is the foundation of your drystack retaining wall and the most important layer. Place each remaining layer on top of the next, checking to ensure that each layer is level. If you have particularly large gaps between stone, fill them in with soil or crushed stone.
7. Cap the Top of Your Drystack Retaining Wall With Flat Stones
Take the flat stones that you selected at the stone yard or quarry and use them to cap your drystack retaining wall. This is the last step in your DIY drystack retaining wall and once complete you can sit back and enjoy your work.
Need Help With Your Drystack Retaining Wall?
If you are looking for expert advice and help with building a drystack retaining wall, contact . We have a team of who would be happy to build a beautiful drystack for your home.
Contact New Life Rockeries today to start the process of improving your home’s landscape today.

Written by
Keith EneixCo-Owner, New Life Rockeries
Keith Eneix is a co-owner of New Life Rockeries alongside his brother Neil Eneix. He began helping with operations in 2007 and has been involved ever since. He writes from nearly two decades of hands-on experience with retaining walls, rockeries, and hardscaping across the greater Seattle area.
View full profile →Ready to Start Your Project?
New Life Rockeries has been building retaining walls, rockeries, and hardscaping across the greater Seattle area since 1975. Get your free estimate today.