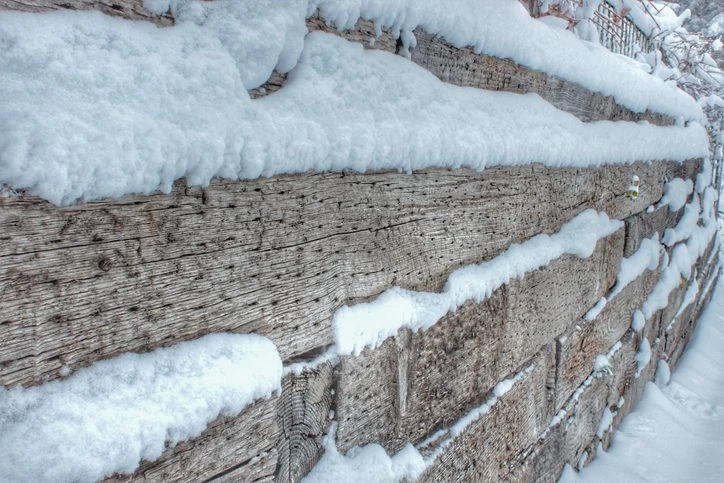
Outdoor landscaping is such a creative hobby. It lets you take items that you have access to, like railroad ties, wooden pallets, and more and gives you the chance to turn them into something that adds beauty to your yard.
If you want to DIY a retaining wall built from railroad ties, this article will act as your guide to building a railroad tie retaining wall for your yard.
Step 1: Level the Location
First things first. Start building your diy railroad tie retaining wall by leveling and tamping the location site. A sturdy, hard foundation will ensure that there is a minimal amount of earth shifting after you’ve built your wall.
Don’t be alarmed if your railroad tie retaining wall still shifts slightly as it settles, this is a perfectly normal occurrence and shouldn’t affect the functionality of your retaining wall.
Step 2: Use Gravel for Water Absorption
After you’ve leveled and tamped the foundation for your railroad tie retaining wall, it’s time to lay your gravel foundation. Using gravel is an excellent way to ensure that excess water is absorbed by running through the gravel instead of the possibility of it warping or shifting your retaining wall. Make sure that when you lay the first railroad tie you allow space around it to be filled in with gravel. This will secure your foundation and allow for optimal drainage.
Step 3: Lay & Level the First Railroad Tie
With your gravel foundation laid and tamped, it’s time to set the first railroad tie of your retaining wall. One of the most important parts about laying the first railroad tie is to ensure that it is as level as possible. This will ensure that the following ties that are laid on top are also level. Take your time with laying the first railroad tie and add or get rid of gravel as needed. The reason why it’s so important to have a level first tie is that all of the other retaining wall railroad ties will build off of the first one, meaning that if the first one is lopsided all proceeding ones will be as well.
Step 4. Get Your Pins & Drill Pin Holes in the Railroad Ties
Now it’s time to grab your pins. Many homeowners choose to use simple rebar as their pins as they work optimally for holding the railroad tie retaining wall steady and are easy to come by. Make sure that your rebar is all the correct height. Depending on the length of your retaining wall will determine how many pins you will need. Consider using a pin every two to two and a half feet to make a sturdy wall.
Next you will need to drill holes for the pins. You should make the hole slightly larger than the pin itself (though not by much).
Step 5. Place the Pins
Now for the fun part, placing the pins. Most people will need a sledgehammer (a five or ten-pound sledgehammer should do the trick). Place the pin inside of the hole that you drilled and begin tapping it gently to ease it in. Once the pin is securely wedged in the hole you can start being a little more aggressive, using more force and a heavier sledgehammer. Make sure that you drive the pins into the ground so that your railroad tie retaining wall is firmly secured. Use your ten-pound sledgehammer to pound the pin to one side, securing the first railroad tie firmly to the ground.
Step 6. Fill in the Gaps
Once the first ties and pins are set, make sure that you fill in the gaps between the pins and the dirt with gravel. Put in a couple of inches of gravel at a time and securely tamp each shovel full of gravel down.
Step 7. Rinse & Repeat
From here on out the process is pretty simple. Place a one railroad tie on top of the last one, drill a hole, hammer your pin in, secure the pin, fill in behind the wall with gravel and tamp after each shovel full. Repeat these steps until your railroad tie retaining wall is the ideal height to serve its purpose.
Hire a Professional Landscaping Service to Build Your Railroad Tie Retaining Wall
Is it too daunted to take on the task of building a retaining wall with railroad ties? Never fear! You might not have the time to learn to build a railroad tie retaining wall on your own, but hiring a professional landscaping service can be done in no time.
New Life Rockeries has been serving pacific northwest homeowners for many years and takes great pride in accomplishing the desired outdoor aesthetic of each homeowner. If you need help having a Seattle retaining wall contractors installed in your yard, give New Life Rockeries a call today. Our team would be happy to create a custom quote for your project and help you start on the road of improving your landscape.


