Blog
How To Build a Small Rock Garden
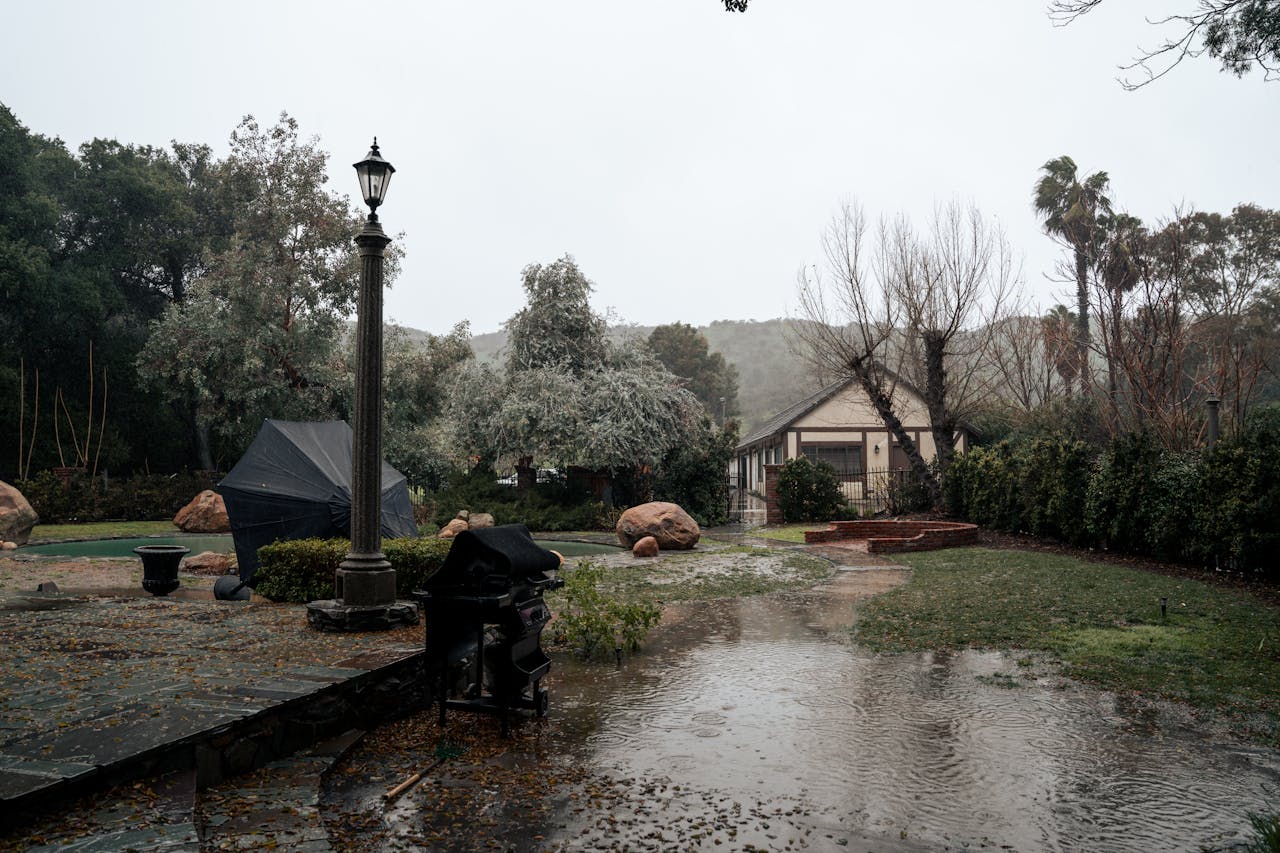
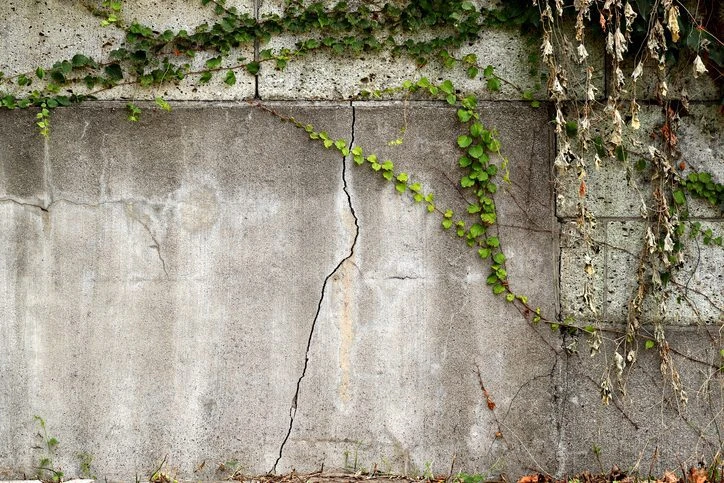
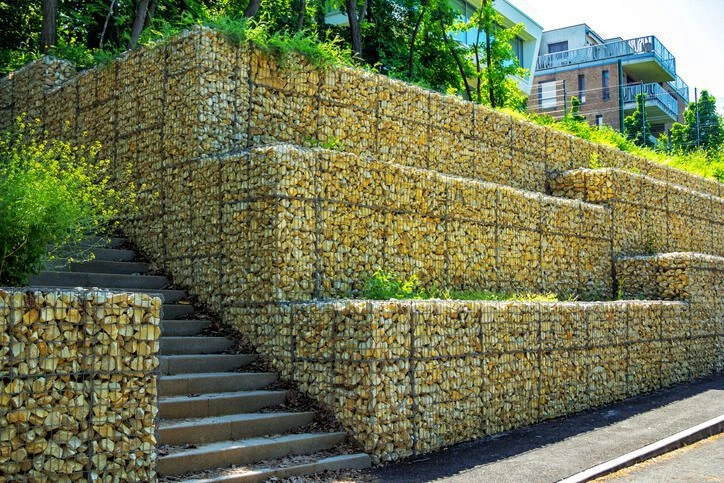
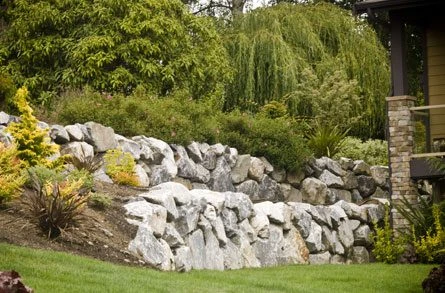
Looking for rock garden ideas for small spaces? Adding a rock garden to your outdoor landscape can be a fun and creative way to bring new vibrance to your yard. Continue reading for rock garden ideas for small gardens or get in touch with New Life Rockeries to learn more about our rock garden installation capabilities. Small Rock Garden Ideas To Prevent Backyard Flooding One of the main reasons why Pacific Northwest homeowners have a rock garden installed is to prevent backyard flooding. If you are in search of small rock garden plants that will help mitigate your