Learning Center

Learning Center

Request a Quote

decomposed granite
Blog
Neil Eneix

Decomposed Granite – Uses, Maintenance and Costs

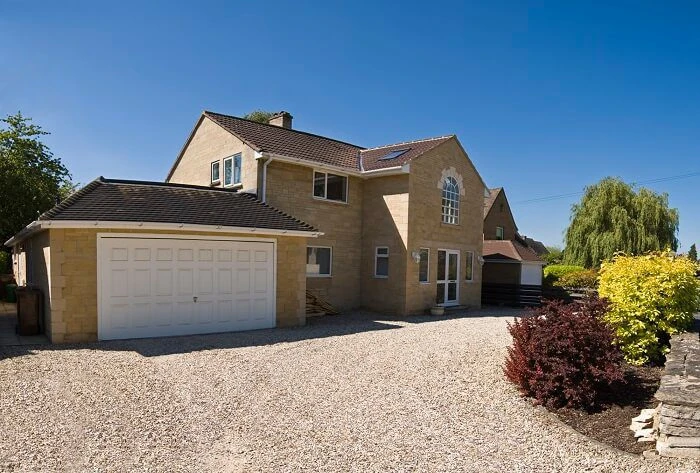
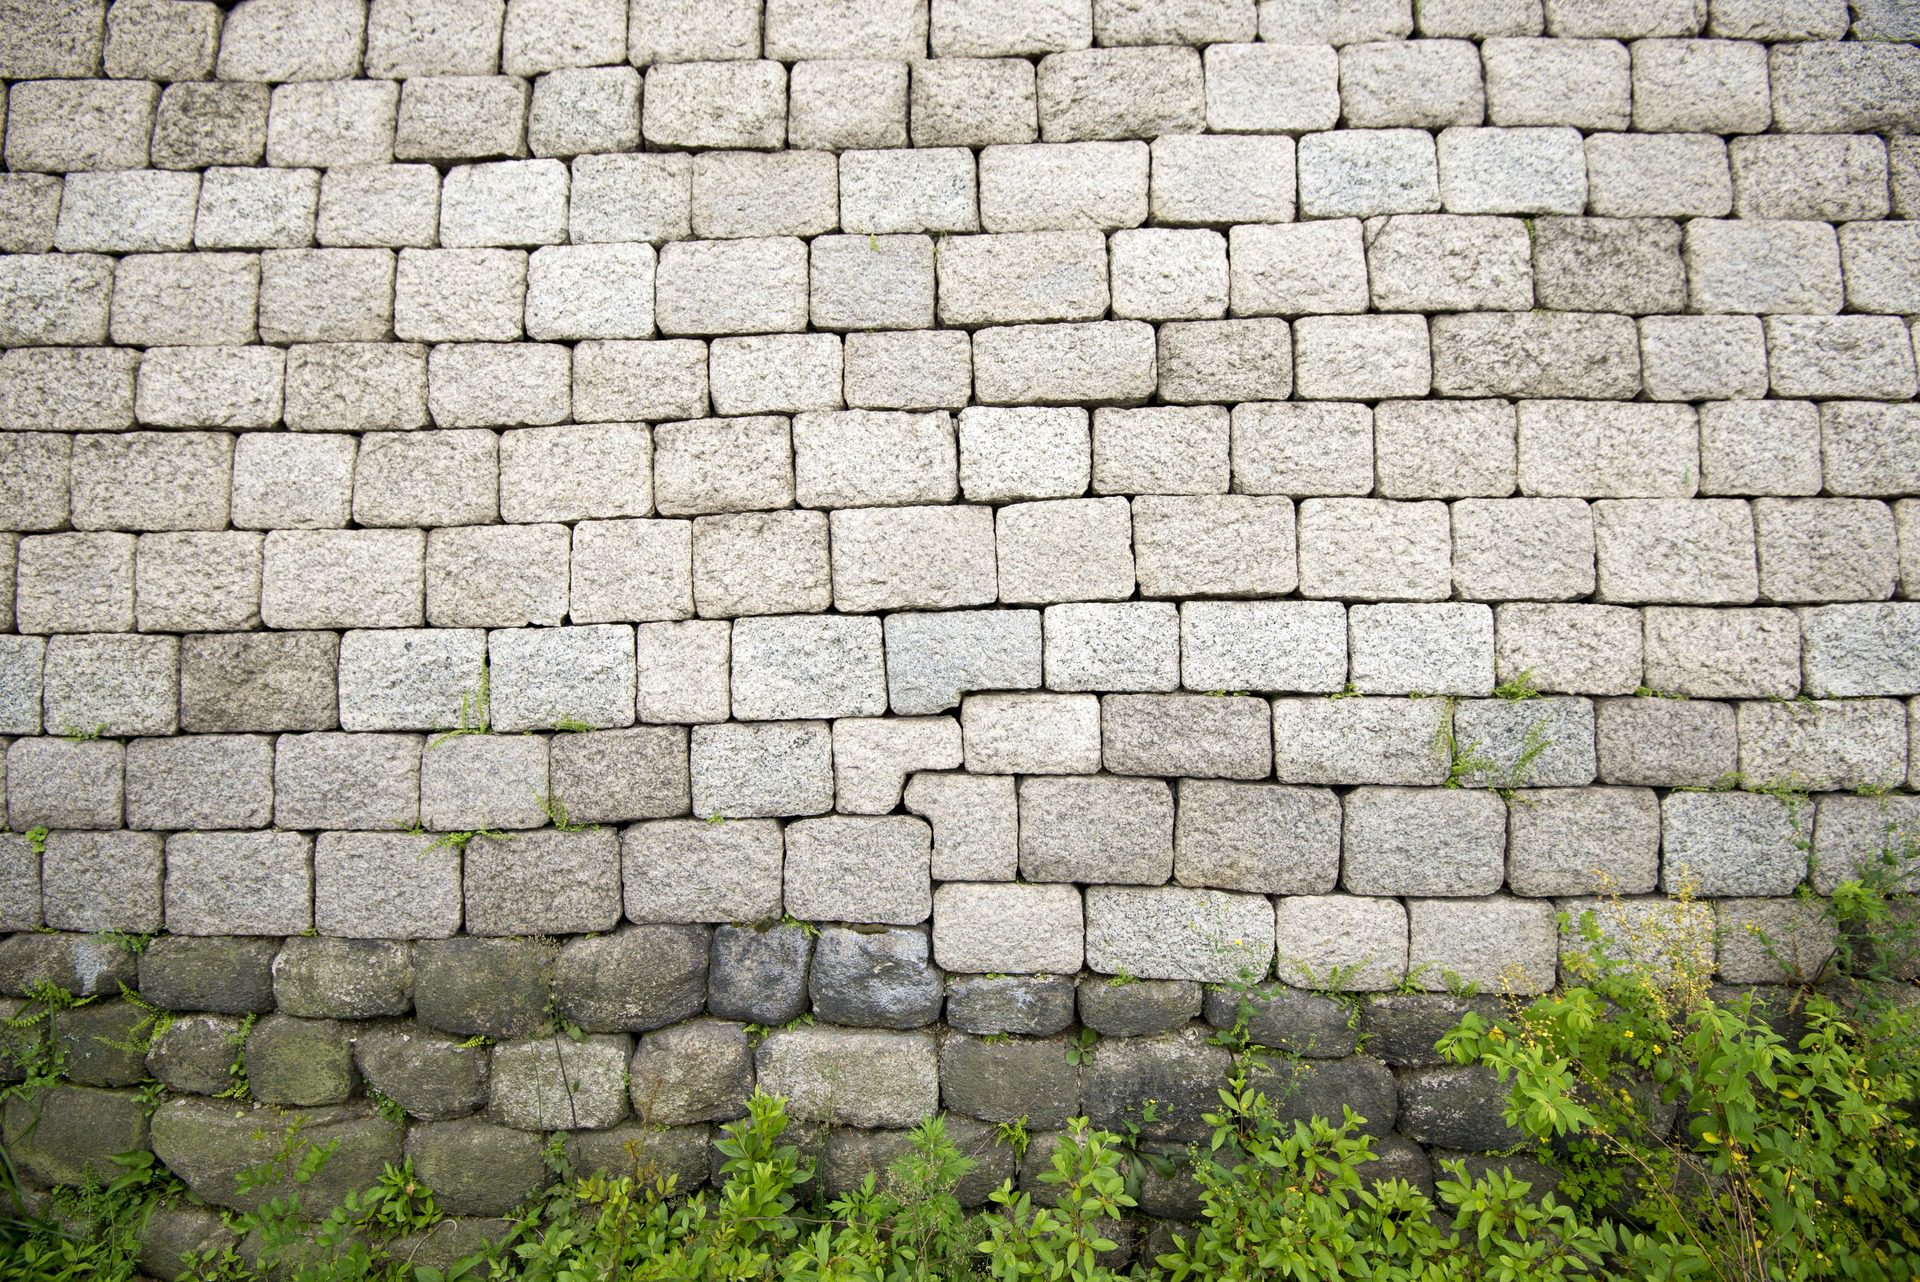
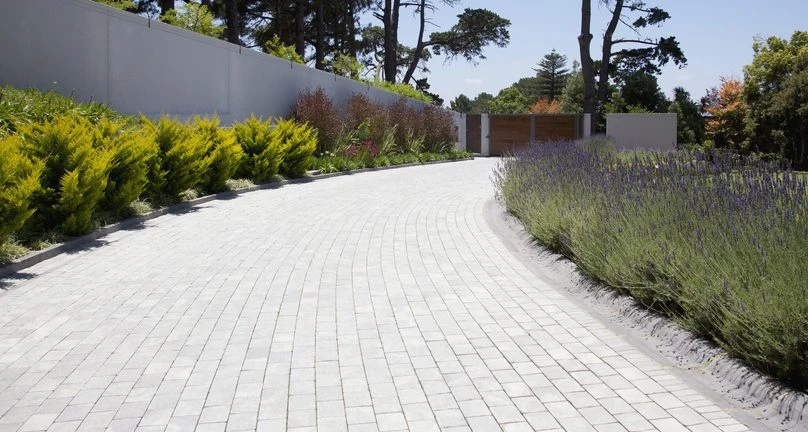
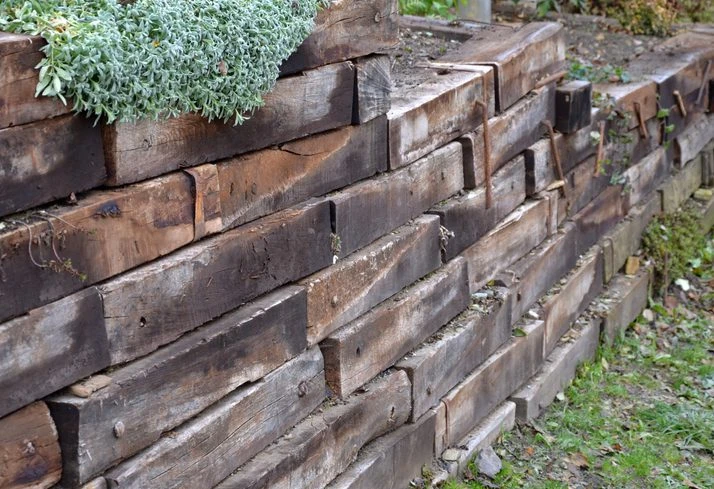
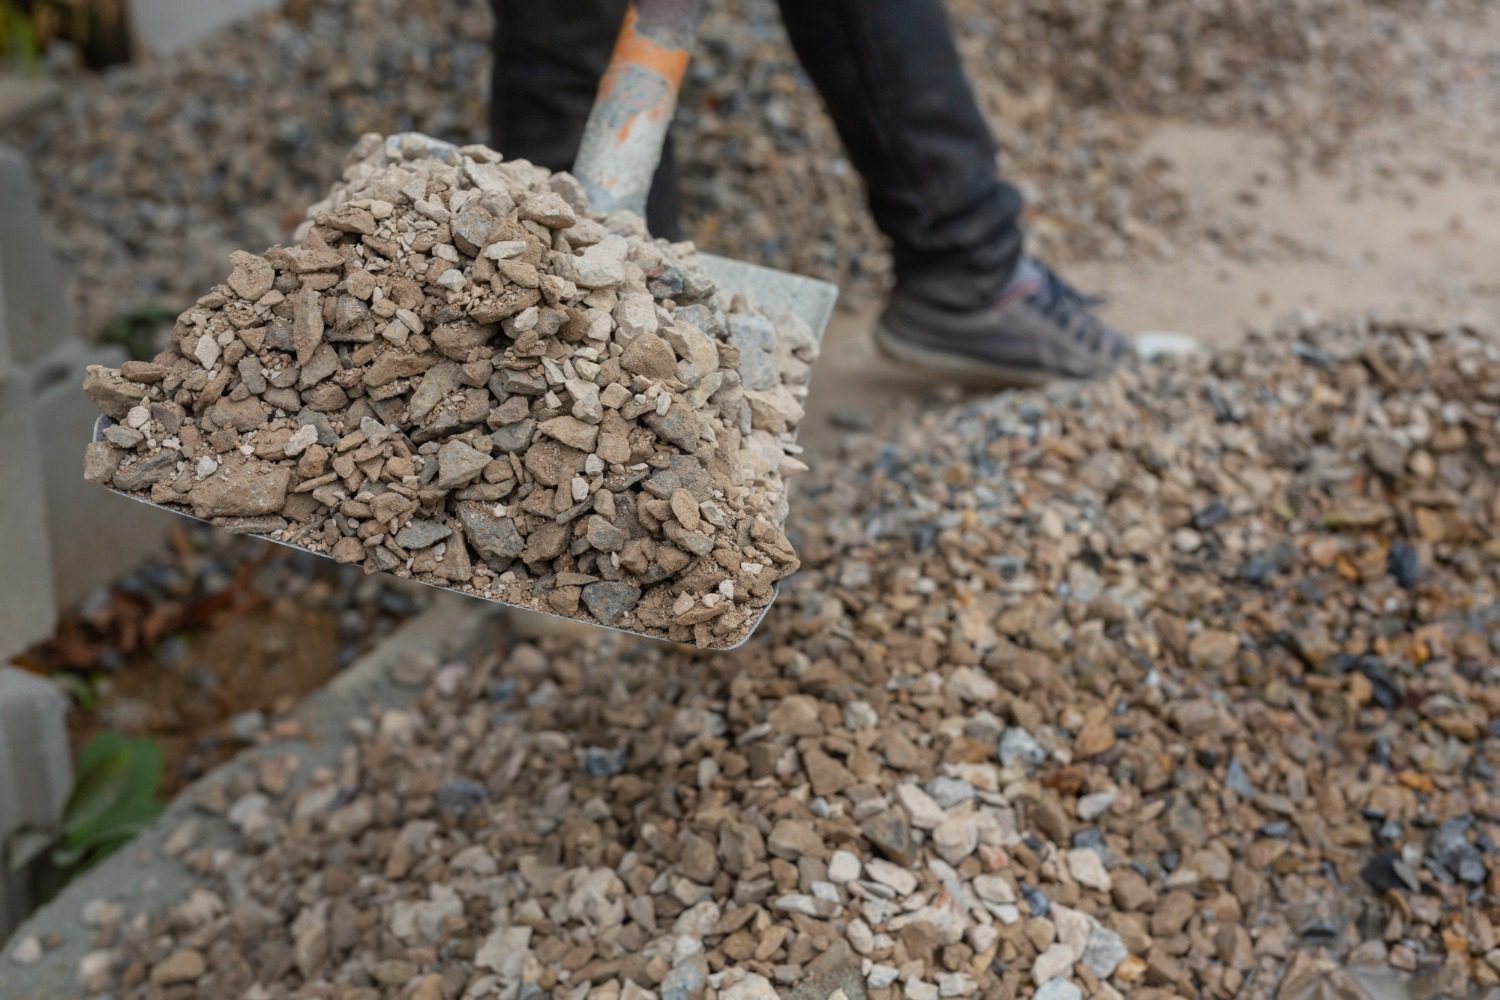
When most people hear about granite, their minds immediately go to the kitchen. No, that’s not because they have an appetite—it’s because granite and marble countertops have become a mainstay in modern kitchen design. But fewer people are familiar with decomposed granite. Exactly what is decomposed granite, you ask? In this article, we’ll be providing you with a clear definition as well as taking a look at the many uses and advantages of decomposed granite. What Is Decomposed Granite Used For? It’s likely that you encounter decomposed granite regularly in your daily travels. It’s commonly used in areas like these: Adorning pathways in a garden Local parks Pathways in local communities On a baseball field Many more It’s a versatile material that gives you a sleek looking natural surface, while remaining very firm and porous. It has an uncanny natural look that many seek out for the perfect accent to their rockery vision. Decomposed granite is, of course, a form of granite. Granite is the most abundant igneous rock on the planet, formed as magma cools and solidifies. As one may expect, decomposed granite is the late-stage form of granite. After enduring erosion and natural elements, granite will begin to flake and crumble. This transforms it into a decomposing granite material that can be crumbled into various sizes of particles, making it a versatile fit for any project. Part of what makes decomposed granite so special is one of its particles, feldspar, which weathers away into a clay mineral known as kaolin when exposed to water. Using Decomposed Granite for Your Project Decomposed granite makes a fine addition to any landscaping project. Being even harder than marble, its robust makeup makes it an ideal fit for areas like the following: Driveways Pathways in your yard Landscapes Trail networks Patios Even ballparks! Being a very robust, low-maintenance material, it’s a popular choice for projects of all shapes and sizes. The decomposed granite uses are endless. Decomposed Granite Colors Beyond just its practical applications for a project, there are many different types of decomposed granite, including a variety of colors. Typically, decomposed granite will start out a reddish tan color, gradually fading over time into a spectrum of shades.  Maintaining Decomposed Granite Most commonly, folks may choose to make use of a stabilizing agent to increase the robustness of their decomposed granite pathway. New Life Rockeries has several options that we can recommend if you have a more specialized need for your decompo Decomposed Granite Cost Buying decomposed granite depends on the size and quantity needed. Please reach out to one of our talented estimators for an accurate decomposed granite price, if you’re looking to determine scope for your next landscaping project. Decomposed Granite Near Me For multiple generations, New Life Rockeries has provided its customers with immaculate results and exceptional customer service in their landscaping projects. If you’re considering using decomposed granite for your next project or have general questions, please reach out to us by clicking here.

Read More »
Gravel for Driveway
Blog
Neil Eneix

What is the Best Gravel for a Driveway?

When you return home only to drive your car onto a lackluster dirt path, you’ve probably longed for a proper driveway. Naturally, you’ll ask what is the best gravel for a driveway. The good news is, driveway gravel can be inexpensive and aesthetically pleasing. If you’re not quite ready to commit to having a concrete or asphalt driveway, getting some driveway rock is a great compromise.   The Various Types of Gravel and Driveway Stone Before making a selection on the best gravel for your driveway, you’re going to need to be familiar with the various options at your disposal. Like most rock, there are endless different varieties of color, shape, and texture. There are also quite a few permutations as to how the rock can be installed. Do note that it’s ideal to choose three different layers of stone for your driveway that all vary in size. So you don’t have to commit to one gravel to rule your whole driveway. Related Blog Post: How to Keep Gravel in Place on Driveway Here are the key options when you’re exploring gravel for driveway purposes.     1.  Base Gravel #3 The old tried and true favorite—base gravel #3. It’s commonly known as “clean stone,” and composed of irregular rock fragments. Typically, the stone comes in sizes one to two inches in diameter. This is one of the most popular choices as a base layer, as the name infers.    2.  Crushed Stone #57 Crushed stone #57 is a larger type of gravel, usually used as the middle layer for a gravel driveway. It’s got a unique size to it that promotes effective drainage of water by preventing gravel from adhering together forming an impermeable layer.    3.  Crushed Stone #411 Let me give you the 4-1-1 on crushed stone #411! Crushed stone #411 is usually the final layer of a gravel driveway, as it’s made up of smaller components of gravel. It’s actually a mix of small gravel particles and coarse rock dust, called “fines.” Ideal for your top layer, this blend helps the stones beneath it settle into place. The result is a sturdy, stable surface that will hold up against the weight of a vehicle. As you can see, there may not be a single best gravel for driveway purposes, but they can all work together effectively to create a beautiful and functional driveway! FAQ – What Is the Best Gravel For a Driveway On a Hill? Time for a little bonus FAQ. If you’re looking to put a driveway at an incline, you’ll be more successful by using stones that are angular in nature. A combo of #57 and #411 usually does the trick. Driveway Gravel Near Me Need specialized consultation on putting in a gravel driveway? That’s what we’re here for. New Life Rockeries has generations of experience serving our customers by creating gorgeous landscapes and rock features for their homes and businesses. If you’re interested in putting in a gravel driveway, we can help make the appropriate recommendations. Click here to get in touch with us today.

Read More »
Blog
Neil Eneix

What Are Anchored Retaining Walls?

Do you have a beautifully landscaped garden that just won’t stay in place? Or perhaps it’s been looking a bit flat…no problem! Adding anchored retaining walls can improve your outdoor space easily. Used to hold soil in place, an anchored retaining wall is perfect for creating garden levels, tiered beds, or simply enhancing the terrain. It can also be used in building sites, so if you have construction needs, Opting for the anchoring services of retaining wall contractors may be the preferred approach. Also called a tie-back system, an anchored retaining wall basically consists of anchors, cables, and thin walls. Anchors are installed into the ground to balance the foundation and the load is then supported by the retaining walls, held in place by strong cables connecting the anchors and walls. Occasionally, these structures will be enhanced using concrete and steel rods.  Advantages of Anchored Retaining Walls Loads of advantages come with anchoring retaining walls! Some of them include: More stability. Using cables and an anchor deeply inserted into the soil will provide your anchorwall with a reliable level of stability.  Support heavier loads. Similarly, the strength of the cables combined with the size and location of the anchor allows for much bigger loads. Slimmer than other options. The anchorwall used is much thinner, making it easier to transport and build in addition to saving space! Economical. Requiring less maintenance than other options, anchored walls are a great long-term choice. Slope protection. The main purpose of retaining walls is to hold soil in place, so this option is perfect for slope creation and maintenance. Safer excavation. For bigger construction jobs, including the anchor means a safer building site. New Life Installation Before installation, there are some important factors to consider.  Location. An anchored retaining wall can change not only the look and feel of your property but also the water flow. Space. Anchored retaining walls can be used in any location, but are especially suited for small spaces. Style. New Life Rockeries has many options for design, so think about which style would best suit your needs. Anchoring retaining walls is fairly straightforward. Firstly, the soil will be moved into its proper place, any necessary holes will be dug, and the ground flattened out. Next, the base material will be laid onto the prepared ground.  The anchor blocks will be installed and, after they are in place, the backfill will be added. The soil behind should be compacted so the tiebacks (rods or wires) have a better hold. At a 15-45 degree angle, the tiebacks are drilled through the retaining wall deep into the soil behind. If you’ve been wishing for a new and improved garden, backyard, or front walkway, an anchored retaining wall may be just the thing you’ve been missing. Contact New Life about potential anchored retaining wall installations today about your specific needs. Our friendly team can provide a quote!

Read More »
Cost to Pave a Driveway
Blog
Neil Eneix

How Much Does it Cost to Pave a Driveway

Picture this — you’ve just pulled through the car wash after a long day at work. Your car is fresh and shiny!  But just as you get home, you hear that familiar crackling under your wheels. Oh, that’s right. You have a gravel driveway. And just like that, your shiny new car has a wonderful layer of residual dirt and dust.  If only you had a paved driveway.  By now, you’re probably wondering, how much does it cost to pave a driveway? Continue reading to find out!  Average Cost to Pave Driveway – Benefits Before we start justifying why you should shell out your hard-earned cash for a steaming pile of asphalt, let’s talk about the benefits of a paved driveway (beyond the scenario described above). Well one aspect to consider is the curb appeal (and consequently, the value) of your home. No matter how nice you keep the inside of your home, the entryway is the first thing people see. And if they see a driveway filled with cracks, dirt, weeds, or drive up on a heap of gravel, it’ll blunt the long-term value of the home. What’s more is that when people see inconsistencies in the driveway, they often speculate that there may be foundational issues with the property. Cost to Pave a Driveway There are two major factors that impact the cost of paving a driveway. These are:  The amount of raw material required And the type of look and material desired Material options for installing a driveway include:  Gravel Flagstones Asphalt Cement Do note that each one of these comes with their own set of pros and cons. However, most people gravitate toward asphalt and cement for their ease of maintenance (and cost-effectiveness). Calculating your Driveway Square Footage Next, you’ll need to know the exact square footage of the area you intend to pave. To do this is a simple calculation of length x width. Measure the length of your driveway space and then multiply that by the width. Let’s say your driveway is 30 feet long and 15 feet wide. You would need 450 square feet. Cost of Materials Asphalt is the cheapest option for forming a driveway, averaging around two to five dollars per foot. In this scenario, the materials could be as cheap as $900 or as expensive as $1,750. This is much cheaper than cement, which can be more than double this cost. Cost of Labor Labor cost is another factor to consider for your driveway, and it pays to have it done professionally. How Much to Pave a Driveway The average cost to pave a driveway varies based on your needs, materials, and if you plan to do it yourself or not. As a ballpark estimate though, you should plan to spend at least $2,000 on a quality driveway installation.

Read More »
How to Lay Flagstone
Blog
Neil Eneix

How to Lay Flagstone – The Right Way

Ever wondered how to lay flagstone yourself? While home and garden social media accounts frequently tout laying flagstone as a great “DIY” activity for your yard, there’s a bit more to it than most people expect.  Like all things, doing it RIGHT is different than just getting the job done. With that in mind, we at New Life Rockeries think it would be helpful to introduce you to what goes into installing flagstone, and then you can decide if you’re up to the task! Tools of the Trade No flagstone installation can begin without the appropriate equipment first! With that in mind, here are the minimum tools we recommend having on hand. Flat nose shovel Wheelbarrow Metal rake 4’ level Large bucket Small hand shovel Measuring tape Hand tamper Of course, you can always get fancier — but these are enough for you to get started. Laying Flagstone Laying flagstone is best summarized in the following seven steps: Planning Digging Adding base layer gravel Installing leveling sand Puzzle assembly Level that flagstone! Finish up the gaps Any proficient flagstone installer will tell you that each step to the process here is its own micro-form of art. But these are the basics to get the job done. How to Lay Flagstone – The Process Below, we’ll give you some insight on what you can expect if you become the new architect for your flagstone landing! Planning: Before we can talk about setting flagstone, you’re going to need to plan out exact dimensions for your flagstone patio. You’ll need to consider the grading of your yard, stone size, and any utility lines before you break ground. Digging: Knowing how to install flagstones means being handy with a shovel. Once you’ve got a hunch of how big your flagstone patio is meant to be, you’ll want to dig down about 6”. This gives you 3-4” for the gravel base, 1” for any necessary leveling material, and the slabs themselves, of course.  Add your Gravel Base Layer: Remember that 3-4” of gravel we mentioned? You’ll need to fill in your dug-out trench with a sturdy base layer of gravel and compact it nice and tight. It’s the foundation, after all! Leveling Sand: There are specialized sand and rock products that can assist you in leveling your base layer. This will be important for having an even patio to walk on. Puzzle Assembly: Now that you have your flagstone base, time to let loose and design your patio! Piece together all the flagstones and find the fit that’s right for your yard. Level it out: Take your time in getting everything level. Fill in the Gaps: Whether you use soil or moss, it’s the finishing touch! Fill in the space between each slab. How to Install Flagstone These are the basics of how to lay down flagstone. But a professional job always outshines a home hobby project. New Life Rockeries is the authority in all matters of the rock and landscape. Click here to discuss your next yard project with us.

Read More »
Blog
Neil Eneix

How to Keep Gravel in Place on Driveway

Contain Gravel From Washing Out Gravel is a convenient choice for driveways, walkways, and parking lots. It requires very little maintenance, is easy to install, and lasts for years.  But despite these advantages, gravel also comes with a few cons — one of the main ones being, how do you stop gravel from washing out?  Foot traffic, cars, and weather all work to destabilize gravel and spread it around, creating a mess and also shrinking the driveway over time. Fortunately, as your resident rockery and landscaping contractor experts, we at New Life Rockeries have a few tips on how to keep a gravel driveway from washing out. Tips on How to Contain a Gravel Driveway These tips on how to contain gravel driveway configurations should help you preserve the density and appearance of your gravel driveway, while effectively stopping it from washing out. 1. Pack the Gravel Tighter When gravel isn’t tamped or packed deep into the ground, it is at a much greater risk of washing out or spreading around. Even something as seemingly barbaric as whacking your gravel with a shovel repeatedly can actually help to secure it into the ground. That said, we do recommend a more eloquent approach, something more effective, like a plate compactor. 2. Increase the Depth of your Driveway While tamping and packing are both viable ways to harden gravel driveway surfaces, they may be ineffective if your driveway is all-around too shallow. In fact, increasing the depth of your driveway may just be the easiest and most cost-effective means of keeping your gravel from washing away. Even if your driveway lacks borders, spreading about 3 inches of gravel usually provides enough weight so that the rock won’t spread over time. 3. Driveways without Borders A driveway without a border is more likely to spread and wash away than one WITH borders. Wooden planks can go a long way to securing your walkways and driveways when laid as borders along the edges. For this use case, we recommend wood, since it’s the best material for a straight path. If you happen to have a curved driveway or walkway, various stones can present a viable solution. 4. Plastic Pavers The use of plastic pavers is another low-cost, highly efficient driveway gravel stabilizer. Basically, these are a sort of templated, plastic grid layout that goes directly over top of your gravel driveway or walkway. They are highly-effective in compressing the gravel down to mitigate movement altogether. This solution ensures maximum stabilization, and ends your days of having to sweep gravel back into the driveway. How to Stop Gravel Driveway from Washing Out Hopefully you can make use of one of the above suggestions on how to keep gravel driveway from washing away. Gravel, while an inexpensive and versatile solution for most driveways and walkways, can be troublesome if you don’t rein it in with a stabilizing solution. If you need more help on how to keep gravel in place on driveway surfaces, don’t hesitate to reach out to New Life Rockeries for professional assistance.

Read More »
Timber Retaining Wall
Blog
Neil Eneix

How to Build a Timber Retaining Wall (Step-by-Step Guide)

Timber retaining wall construction can be a fun undertaking. It gives you the opportunity to make your landscape have a unique feature that has both practical and aesthetic benefits. Continue reading to learn more about how to build a timber retaining wall or get in touch with New Life Rockeries to speak with a retaining wall contractors installation specialist today. How to Build Timber Retaining Walls: 7 Steps Here are seven steps to build a wood retaining wall: Using stakes and string, outline where you want to build your timber wall. Dig a trench that is about a foot deep and between eight to 10 inches wide (just wide enough to accommodate your timbers of choice). Backfill the trench with 6-inches of gravel and tamp it firmly to ensure that the foundation of your wall is secure. At evenly-spaced intervals, drill three holes into your timber, keeping in mind the size of the holes in relation to the size of the timber and rebar you’re using. Lay the first beam in the trench and use a level to ensure that the first row is even. Using a hammer, drive rebar through the holes to anchor the timber into the ground. Place the second row of timber in a staggered manner on top of the first row and drill wood screws at intervals to secure the second row of timber to the first. Repeat until your wall is at its ideal height. Pour one to two inches of drain rock behind the wall to ensure adequate drainage. Elements of a Good Timber Retaining Wall A quality-built timber wall will have these three elements: Efficient drainage to ensure the wood doesn’t rot. A solid foundation — usually composed of gravel. A sufficient height to ensure that it accomplishes its practical purpose (to prevent soil erosion). 3 Things to Avoid When Building a Timber Retaining Wall Some of the most detrimental timber retaining wall construction errors include: Not adding sufficient drainage. This could result in landscape flooding and also faster deterioration of your wall. Not digging a deep enough trench. This can result in a not-so-secure retaining wall. Overestimating how difficult it is to build a timber retaining wall. Committing to building your own retaining wall requires perseverance and a certain amount of free time. If you lack either of these (even to the slightest degree), completing your project will prove very difficult. Instead of stressing over building your own wall, consider hiring a retaining wall installation service to do it for you. Contact a Wood Timber Retaining Wall Installation Service Today If you would like to hire a professional team to construct your timber retaining wall for you, get in touch with New Life Rockeries today. Here at New Life Rockeries, our landscape professionals have been serving Washington homeowners for more than 30 years and we’d like to use our combined knowledge to help you get a timber retaining wall that brings you joy. To learn more about our timber retaining wall services, get in touch with our team today.

Read More »
How to Cut Concrete Pavers
Blog
Neil Eneix

How to Cut Concrete Pavers

Learning how to cut concrete pavers is a skill like any other that can be honed with enough practice and know-how. While cutting concrete pavers is best left to the experts, there are some tips we can share with you to help you out in your next project! New Life Rockeries takes rockeries and landscaping contractors seriously, so you can trust us when we say that we’re the ideal team to help out with your next yard beautification project. How to Cut Pavers When you first learn how to cut pavers, you might say, “Well that seems rather easy.” Cutting pavers is simple in the fundamental sense, it’s a tricky technique to master and do well. It’s possible to cut concrete pavers by hand or by power tools. Both can ultimately produce the same wonderful result. Using power tools (such as a circular saw) is the best way to evenly cut concrete pavers. This is particularly helpful if you have multiple pavers. How to Cut a Concrete Paver by Hand Don’t have any power tools? You can still cut a concrete paver by hand. Before you commence, here’s what you’ll need: Straight edge Tape measure A good hammer Carpenter’s pencil for measuring Safety goggles Working gloves A cold chisel How to Cut Concrete Pavers with a Circular Saw Before we get into how to cut cement pavers, we’ll give you your checklist for cutting with a circular saw, too. Straight edge Carpenter’s pencil for measuring marks Tape measure Circular saw, masonry saw, or table saw Work gloves Respirator Ear protection Eye protection Step 1: Measuring Whether you’re going to cut cement pavers by hand or with a saw, the first step is the same. You’ll need to measure out the approximate distance between your stones to determine what size you’ll need.  It helps to write out your project ahead of time on paper to determine your stones’ dimensions!  After you know the dimensions of the necessary stones, take your straight edge and carpenter’s pencil to make the cutting marks on the stone. Step 2: Cutting the Brick By Hand or Saw It’s cutting concrete paver time! If you’ve measured out your stones, it’s time to get cutting. Here are the easy steps you’ll need to get the job done: Use your chisel to score the brick Chisel along the scored lines with hammer, using even force Repeat until the brick breaks perfectly along the line If there are rough edges, use your hammer and chisel to clean them up The steps above are designed to cut cement pavers by hand, but this will work with a saw too. Just swap out your chisel and hammer for a circular saw, and be sure to use the proper protection. How to Cut Cement Pavers As you can see, answering the question “How do you cut concrete pavers” is simple in theory, but tricky to master. If you need assistance, we are here for you. Contact us here about your next project!

Read More »
Blog
Neil Eneix

Cinder Block Retaining Wall Construction, Ideas, Design

“What are the best tips for how to build cinder block retaining walls?” Whether you’ve decided to have a cinder block retaining wall installed in your landscape for practical or aesthetic purposes, this article outlines the best tips for how to build a retaining wall with cinder blocks as well as helpful design tips in order to help you create the highest-quality retaining wall. Continue reading to learn our best tips for building a retaining wall with cinder blocks or get in touch with New Life Rockeries if you’d like to enlist one of our professionals to build a retaining wall with cinder blocks at your home. How To Build a Cinder Block Retaining Wall: 6 Steps Here are six steps to follow during your cinder block retaining wall construction. If you have any questions relating to building a cinder block retaining wall, get in touch with our team of retaining wall contractors and installation professionals.   How To Lay Cinder Block Retaining Wall Designate where you are going to build your cinder block retaining wall. Prepare the site by excavating the area and creating a trench with 4-6 inches of gravel evenly compacted and smooth. Lay your first layer of cinder block and check with your level that the wall is straight once the cinder blocks are laid. Fill the cores of your cinder blocks with crushed gravel and lay your second layer (make sure that you’re using your level after laying each cinder block layer to ensure that you don’t end up with a crooked retaining wall). Once you’ve reached your desired height for your retaining wall, cap the wall using your capstones. Make sure that you backfill with gravel and use your level one last time to ensure that everything is even. How To Build a Cinder Block Retaining Wall On a Slope If you’ve been wondering how to build a retaining wall on a slope with cinder blocks, the process is slightly different and more complicated than building a retaining wall on a flat surface. If you are new to the world of building retaining walls, we recommend that you enlist the help of a qualified retaining wall installation company. How To Build a Small Retaining Wall With Cinder Blocks Building a small retaining wall with cinder blocks is essentially the same as building a medium or large retaining wall. You get to determine the dimensions of your retaining wall and so have full control over how tall and wide your wall is. 3 Cinder Block Retaining Wall Ideas When it comes to cinder block retaining wall designs, here are three creative ideas for you. Retaining wall cinder blocks with plants cascading over the edge. Cinder block retaining wall with flowers planted in the top cinder blocks. Alternating shapes and colors throughout your cinder block retaining wall. Contact a Retaining Wall Installation Service Today If you are ready to have a cinder block retaining wall installed in your landscape, get in touch with New Life Rockeries today. Our retaining wall installation professionals have been helping Washington State homeowners get beautifully, practically designed retaining walls installed in their landscapes for more than three decades and we’d love to use our skills to add beauty to your landscape. Get in touch with our team of retaining wall installation specialists today to learn more about our installation capabilities, availability, or to request a custom quote for your cinder block retaining wall installation.

Read More »
Blog
Neil Eneix

Gravel Types and Uses for Landscaping Projects

If you’re looking to improve your landscape and enjoy a beautiful lawn, the first thing you might want to add is mulch. You can also upgrade your garden with more plants. While these are excellent choices, another option you may want to consider is gravel. Gravel can save you money on lawn maintenance and make your landscape look more appealing. Keep reading to find out the different gravel types and uses. Types of Gravel and Their Uses Gravel comes in a variety of colors, shades, and uses. It is a budget-friendly material that can satisfy many of your landscaping and construction projects at home. Often, the main decision is not whether to use gravel but which types of stone to combine to create the garden of your dreams. Here are the types of gravel and uses everyone should know. Decomposed Granite If you want to create a solid foundation for your garden while giving it a rustic look, then decomposed granite is the perfect option. It has a reddish shade, is affordable, and homeowners can add it around garden trails and trees or use it as a xeriscape cover. Crushed Gravel Crushed stone or granite gravel has larger rocks than decomposed gravel. It provides a natural look for any garden, large or small, and makes an excellent transition between pathways and plants. Pea Gravel Pea gravel comes in the size of a pea—about an eighth to a quarter of an inch in size. Colors range from brown to white in various shades. It is versatile, and homeowners usually use it to fill spaces between stone pavers and cover driveways. Pea gravel also ensures good drainage, serves as a weed barrier, and won’t decompose mulch. River Rock Gravel River rock gravel is larger and smoother in texture than pea gravel. If you want to add more layers of gravel around garden borders, river rocks will do the job. You can combine different shapes and sizes for a unique look. River rocks ensure proper drainage as well. Marble Chips Homeowners don’t just use marble for the kitchen. Some use it for their gravel driveways and to upgrade their landscaping projects. Marble chips are classy options for any lawn size, and most people use them to cover the soil around their gardens. Avoid using the chips around plants that require acid, however, as marble changes the soil pH level. Flagstone Gravel Flagstones are larger rocks, perfect for garden paths, stepping stones, and walkways between different areas of your lawn. Now that you are familiar with the types of aggregate gravel and uses, it is time to decide which one to use as a top layer for your new walkway or driveway. If you want to know more about these gravel types and uses, don’t hesitate to contact New Life Rockeries and talk with one of our lawn care experts. Contact us today at (866) 757-7318 and let us help you choose the best gravel for your lifestyle and landscaping contractor needs.

Read More »
Blog
Neil Eneix

Seattle Lawn Care Tips for Growing a Green and Healthy Turf

A healthy and beautiful lawn doesn’t just happen. It requires a lot of care and dedication to keep it green and neat. At New Life Rockeries, we want to help Seattle residents have lush and fabulous grass. Keep reading to discover our lawn care tips to master your Seattle garden and put our useful advice into practice. Seattle Lawn Care Tips & Advice Here is a collection of tips and hints to help Pacific Northwest homeowners maximize their lawns’ potential and get beautiful turf. Water Deeply Avoid watering your turf every day unless the temperatures are high and it is a dry summer. Shallow and frequent watering encourages roots and weakens the grass. The ideal solution is to water your lawn deeply and less often. By doing so, you will stimulate the roots to grow deeper and strengthen the grass. Your lawn will hold up better in high temperatures and look healthy throughout all seasons. Seattle lawns need at least one inch of water per week. The best practice is to water deeply 2-3 times per week. Mulch Instead of throwing away your grass clippings, you can mulch them back into the turf, allowing them to decompose and nourish the soil. If your lawn is full of weeds, however, the clippings may contain weed seeds. In this case, stick to bagging the clippings until you get rid of the weed problem. Aerate in Early Fall or Spring Your turf needs water and sun to thrive. It also needs air to grow. Therefore, it is essential to aerate your lawn in early spring and fall, especially if you notice the soil is compacted. You can aerate your lawn with a gas-powered aerator or a push aerator. These allow water, air, and other nutrients to go deeper into the ground and penetrate the turf’s roots. Cut High While some Seattle homeowners think that giving the lawn a fresh cut will solve all of their turf problems, doing so can harm the grass. Never cut more than ⅓ of the grass’s length, or you may cause stress, leaving the turf more vulnerable to diseases and weeds. Adjust your mower blades and make sure you cut high rather than low. During the sunniest and hottest months, keeping the turf higher protects it from scorching. Fertilize During the year, the soil can’t provide all the nutrients your lawn needs to thrive. It is essential to fertilize your lawn in the spring or early fall to stimulate growth, but you need to pay attention to the type of fertilizer you use. Homeowners should fertilize cool-season grasses in the fall and warm-season grasses in the spring, when they come out of dormancy. If you need extra lawn care tips or want to speak with professionals about how to take care of your turf, don’t hesitate to contact New Life Rockeries today. We’ve been servicing the Seattle area for more than 35 years, and we know exactly what your lawn needs. Call us at 866-757-7318.

Read More »
Blog
Neil Eneix

How To Build a Small Rock Garden

Looking for rock garden ideas for small spaces? Adding a rock garden to your outdoor landscape can be a fun and creative way to bring new vibrance to your yard.  Continue reading for rock garden ideas for small gardens or get in touch with New Life Rockeries to learn more about our rock garden installation capabilities.  Small Rock Garden Ideas To Prevent Backyard Flooding One of the main reasons why Pacific Northwest homeowners have a rock garden installed is to prevent backyard flooding.  If you are in search of small rock garden plants that will help mitigate your flooding issues or tips for how to make a small rock garden, continue reading.   Small Rock Garden Design Ideas Here are five small rock garden designs that PNW homeowners love: Japanese rock garden (sometimes called a zen garden). These are some of the most simplistic and yet beautiful types of rock garden designs. They implement a natural and intense color palette of stony gray, maple red, and deep greens and browns.  Cascading terrace rock garden. These are perfect outdoor additions to showcase your landscape centerpiece or simply add depth and texture to your outdoor space.  Still pond and rock garden. Consider having a small koi fish pond in the center of your rock garden or a bubbly fountain to attract the eyes to a focal point.  Succulent rock garden. Succulents are one of the best ways to create texture in a rock garden. You can blend rocks and succulents of varying sizes to create an earthy-toned, textured space.  Painted rock garden. Rock gardens like this are artistic and should focus on bright plants with varying textures. If any of these small space rock garden ideas appeal to you, get in touch with New Life Rockeries today to speak with one of our landscaping contractor professionals about having a rock garden installed at your home.  3 Tips For How To Design a Small Rock Garden When it comes to tips for how to design a small rock garden, here are three simple things that you should consider before setting to work on your small rock garden.  Consider how much sunlight your yard receives before choosing which plants you’ll have in your garden.  Ask yourself what the purpose of your rock garden is. If you are installing a rock garden to help with backyard flooding, you should get plants that improve drainage and absorb excess water.  Determine whether your small rock garden installation is a DIY project or whether you should enlist the help of a local landscaping company to install your small rock garden.  Get a Small Rock Garden For Your Landscape If making a small rock garden requires more time than you have room for in your schedule, get in touch with New Life Rockeries to have our expert landscapers design a small rock garden for your home.  Here at New Life Rockeries, we have years of experience perfecting the craft of how to create a small rock garden and we want to use our expertise to bring new life and beauty to your landscape.  Contact New Life Rockeries today to speak with one of our team members about creating a small rock garden for your home or to request a quote for your project.

Read More »